Identifying and selecting the print area in a sheet is an important aspect of working with Excel 2010. The print area refers to the specific range of cells that you want to be printed when you choose the print option. By selecting the print area, you can ensure that only the necessary information is printed, saving both time and resources. In this post, we will guide you on how to identify and select the print area in Excel 2010.
Step 1: Open the Excel Sheet
To begin with, open the Excel sheet that you want to work with. Make sure your sheet contains the data and information that you want to print.
Step 2: Navigate to the Page Layout Tab
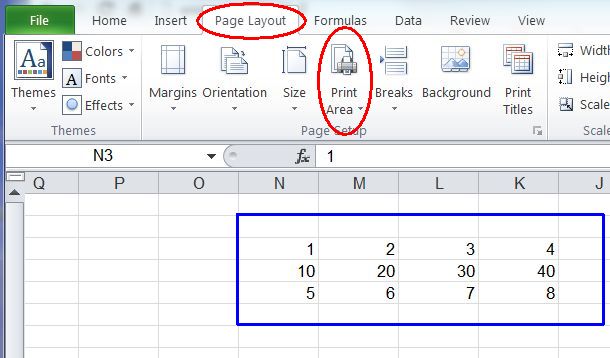
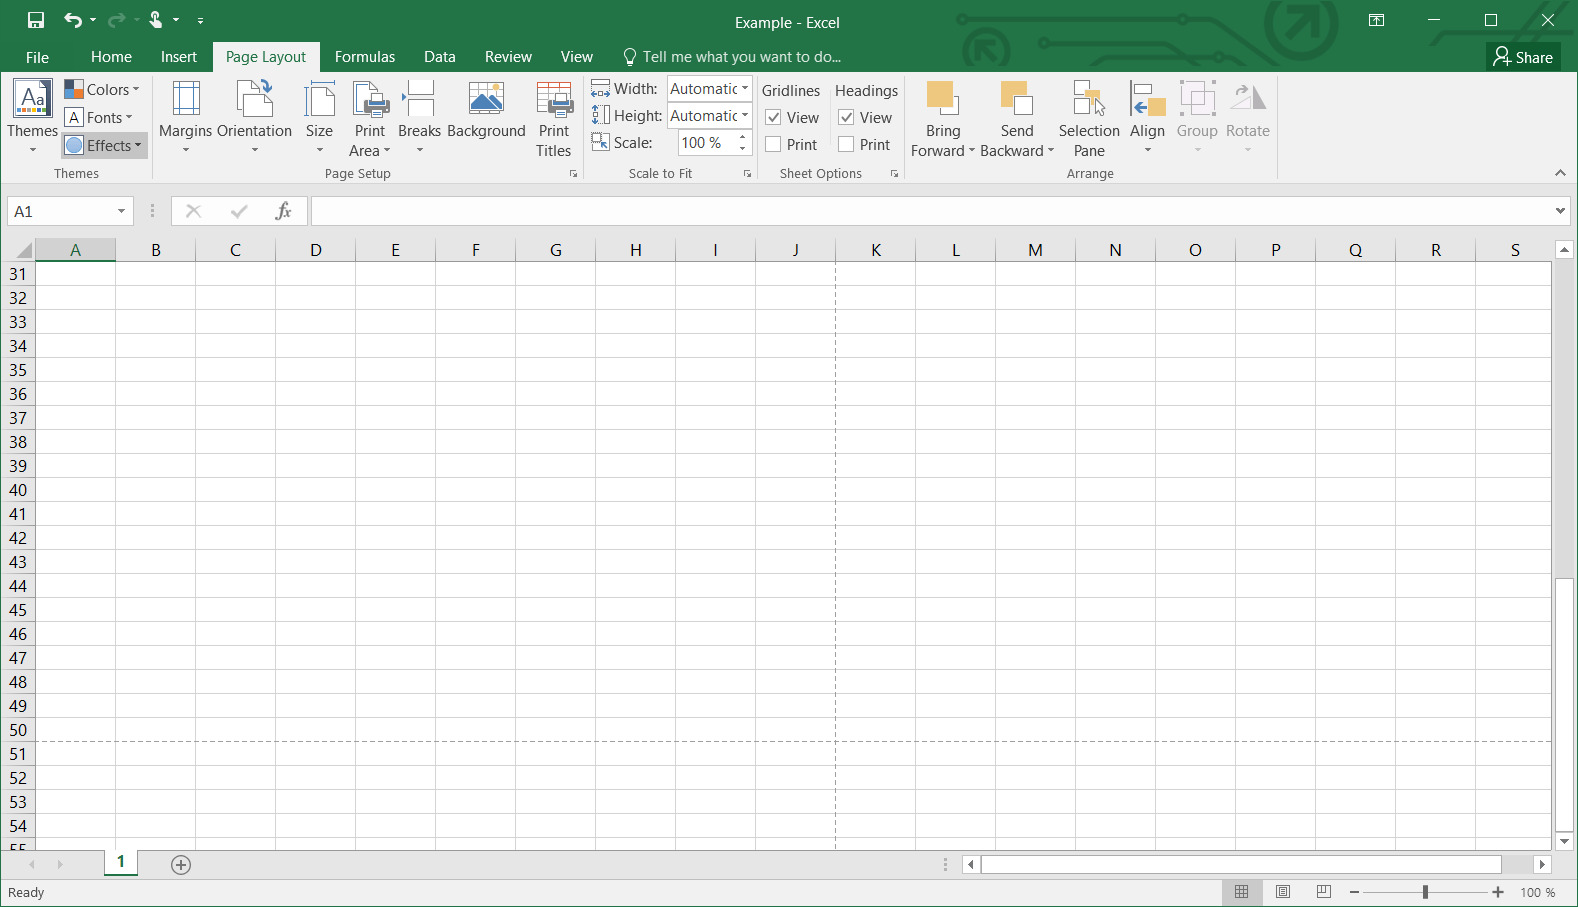
Once you have the sheet open, navigate to the “Page Layout” tab at the top of the Excel window. This is where you can find various options related to page setup and print settings.
 Step 3: Select and Set the Print Area
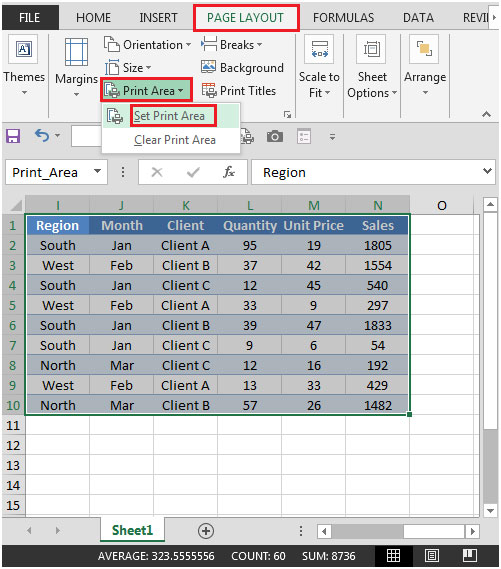
In the “Page Layout” tab, you will find the “Print Area” section. Within this section, there is a button labeled “Print Area”. Click on this button to open a dropdown menu.
 From the dropdown menu, select the “Set Print Area” option. This will automatically set the print area for the entire sheet, including all the data and information contained within it.
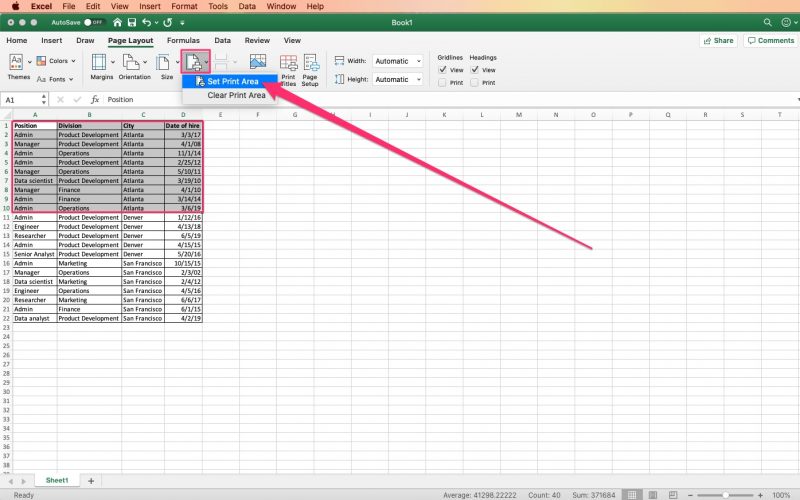
 If you want to select a specific range of cells as the print area, you can do so by selecting the desired cells before clicking on the “Set Print Area” option. Excel will then set the print area to the selected range.
:max_bytes(150000):strip_icc()/ExcelSetPrintArea-5c23d199c9e77c0001adc722.jpg) Step 4: Verify the Print Area
Step 4: Verify the Print Area
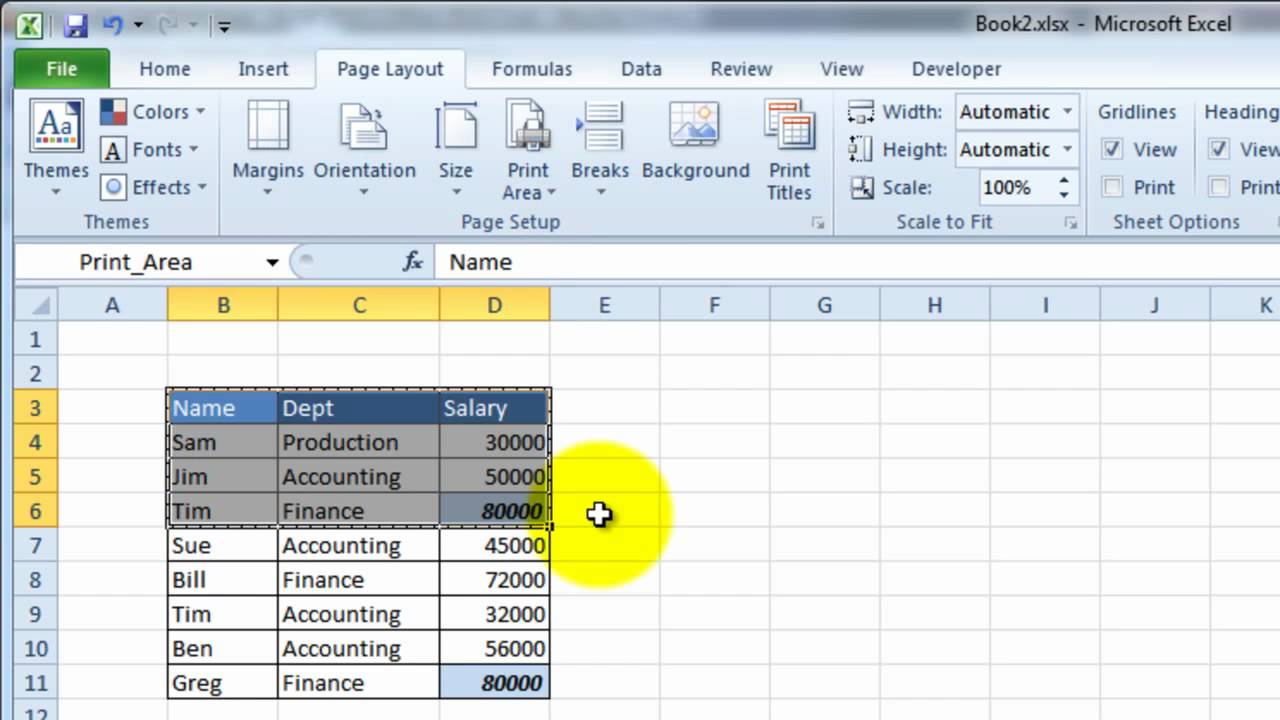
After setting the print area, it is important to verify whether the correct range of cells has been selected. To verify the print area, simply click on the “Print Area” button again and select the “Set Print Area” option from the dropdown menu.
This will display a dashed border around the selected print area, indicating that it has been set correctly.
 Step 5: Print the Sheet
Once you have set and verified the print area, you are ready to print the sheet. Go to the “File” tab at the top-left corner of the Excel window and click on the “Print” option.
In the print settings window, you can further customize the print options, such as selecting the printer, defining the number of copies, and choosing the page orientation.
 After customizing the print settings, click on the “Print” button to start the printing process. Excel will now print only the selected print area, ensuring that unnecessary information is not wasted on paper.
In Conclusion
Identifying and selecting the print area in Excel 2010 is a simple yet essential task to master. By following the steps outlined in this post, you can ensure that only the necessary data and information are printed, saving both time and resources. Whether you select the entire sheet or a specific range of cells, the print area feature in Excel allows you to have complete control over what appears on the printed page. So, the next time you need to print an Excel sheet, remember to set the print area and enjoy a more efficient printing experience.